はじめに
Firebase でチャットアプリを作成するチュートリアル(Firebase web codelab)を試してみました。
チュートリアルでは、以下のことが学べます。
- Cloud Firestore と Cloud Storage のデータ同期
- Firebase Authentication のユーザー認証
- Web アプリケーションのデプロイ
- Firebase Cloud Messaging の通知送信
- Web アプリケーションのパフォーマンスデータ収集
環境
・Firebase 8.2.1
・openSUSE Tumbleweed 20201229
・Virtual Machine:2vCPU, 4GB Memory, 40GB Disk
・VMware(R) Workstation 15 Pro
事前準備
root ユーザー移行
> sudo su -
git インストール
# zypper install git
npm インストール
# zypper install npm
サンプルコードの入手
codelab のリポジトリを複製
> git clone https://github.com/firebase/codelab-friendlychat-web
Firebase プロジェクト作成
Firebaseにログインして、プロジェクトを作成します。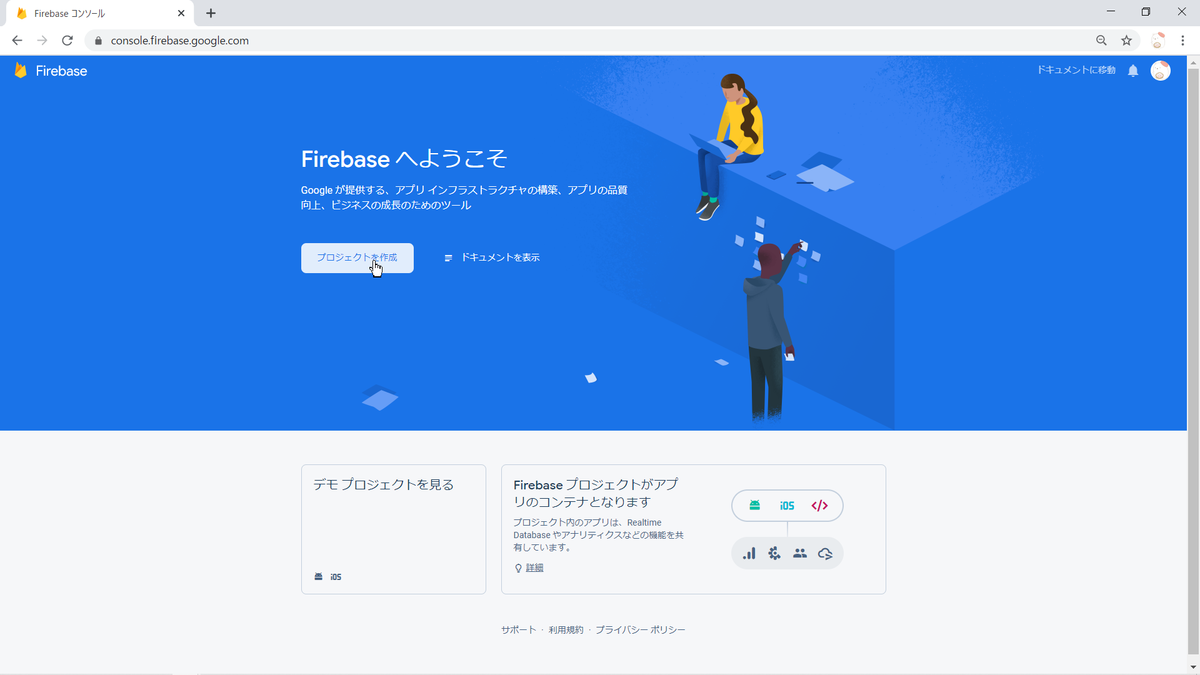
Firebase Authentication の設定
ウェブアイコン をクリックして、Firebase Web アプリを作成します。
左ペインの「Authentication」->「Sign-in method」で「Google」をクリックして、有効化します。
Google Cloud Consoleで OAuth 同意画面を設定します。*1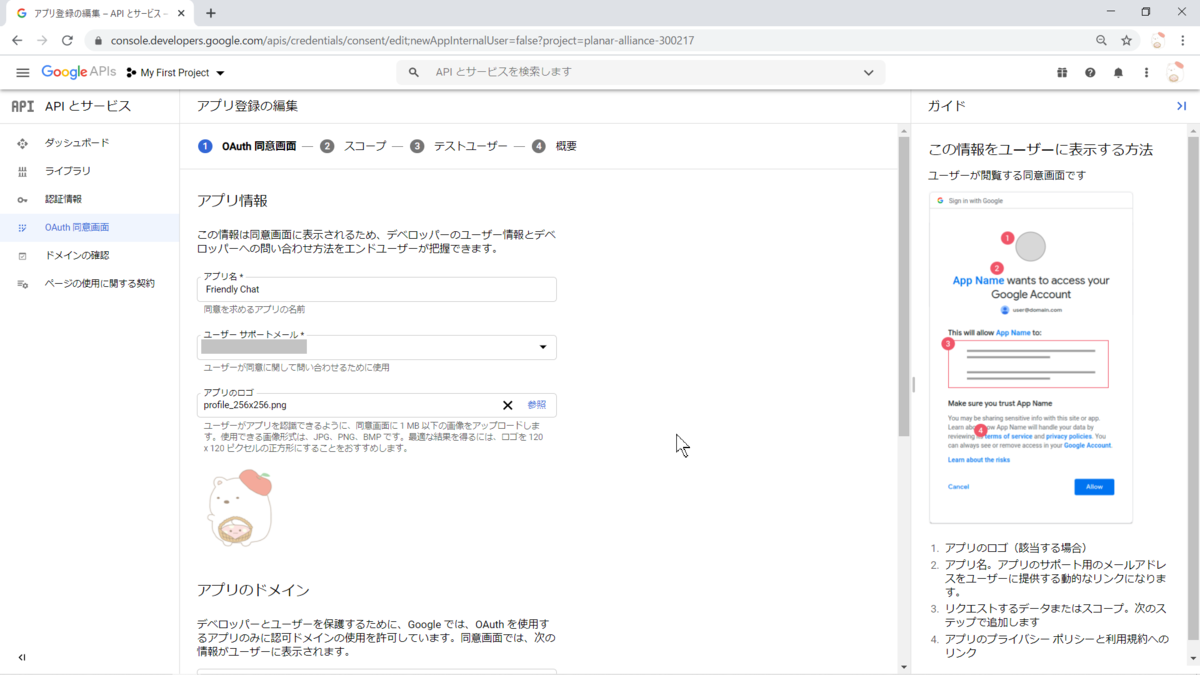
Cloud Firestore の設定
左ペインの「Cloud FIrestore」から「データベース作成」をクリックして「テストモード」を有効化します。
Firebase CLI インストール
CLI インストール
> sudo su -
# npm -g install firebase-tools
インストール確認
> cd /home/hatkobelab/codelab-friendlychat-web/web-start/
> firebase --version
Firebase CLI 承認
> firebase login
※CLI をインストールした OS 上で実行する必要があります。それ以外の場合は、localhost に接続できずエラーとなります。本例では、以下のように openSUSE で実行しました。
アプリと Firebase プロジェクトを紐づけ
> firebase use --add
? Which project do you want to add? friendlychat-46e4f
? What alias do you want to use for this project? (e.g. staging) default
アプリをローカルで実行
アプリを実行
firebase serve --only hosting
※上述と同様に OS 上で実行します。
ブラウザから http://localhost:5000に接続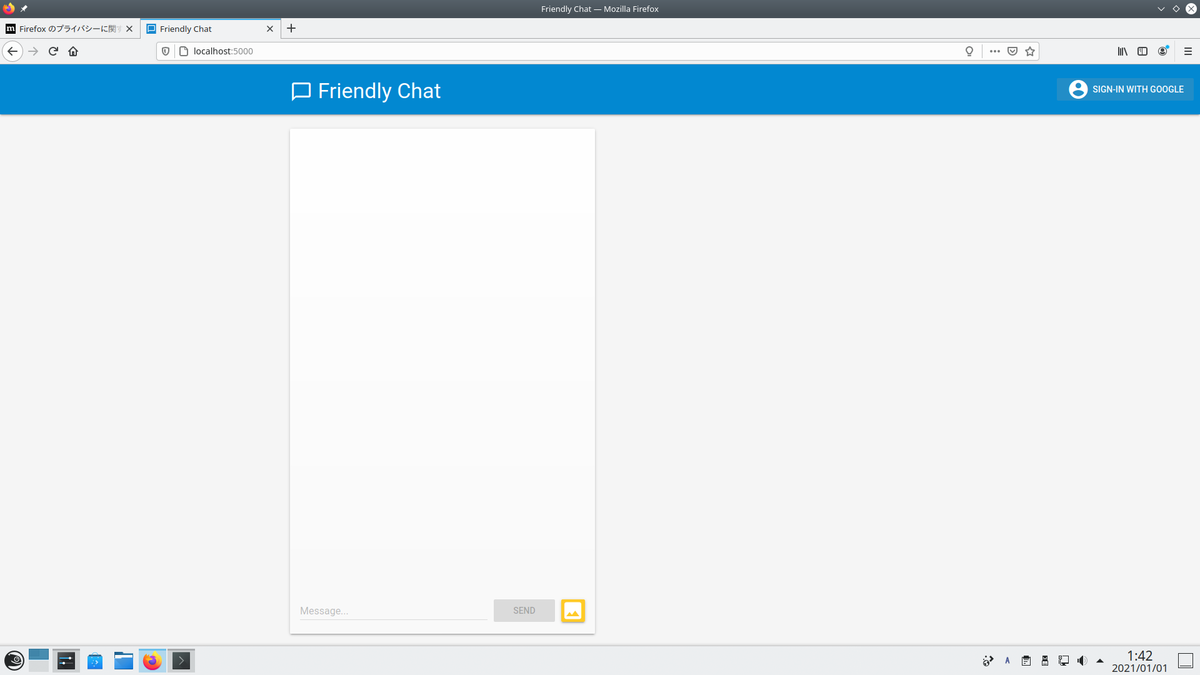
アプリの UI が接続されますが、認証がとおっていないため、まだ機能しません。
ユーザーサインイン設定
チュートリアルでは、Google サインインでユーザー認証するためのコードが用意されているので、対象の関数を置き換えます。ファイルは web-start/public/scripts/main.js です。
関数:signIn
// Signs-in Friendly Chat.function signIn() {// Sign into Firebase using popup auth & Google as the identity provider.var provider = new firebase.auth.GoogleAuthProvider();
  firebase.auth().signInWithPopup(provider);
}
関数:signOut
// Signs-out of Friendly Chat.function signOut() {// Sign out of Firebase.
  firebase.auth().signOut();
}
関数:initFirebaseAuth
// Initiate Firebase Auth.function initFirebaseAuth() {// Listen to auth state changes.
  firebase.auth().onAuthStateChanged(authStateObserver);
}
関数:getProfilePicUrl
// Returns the signed-in user's profile pic URL.function getProfilePicUrl() {return firebase.auth().currentUser.photoURL || '/images/profile_placeholder.png';
}
関数:getUserName
// Returns the signed-in user's display name.function getUserName() {return firebase.auth().currentUser.displayName;
}
関数:isUserSignedIn
// Returns true if a user is signed-in.function isUserSignedIn() {return !!firebase.auth().currentUser;
}
サインインのテストは、上述と同様に OS 上で実行します。
firebase serve --only hosting
以下のように Google でサインインができるようになります。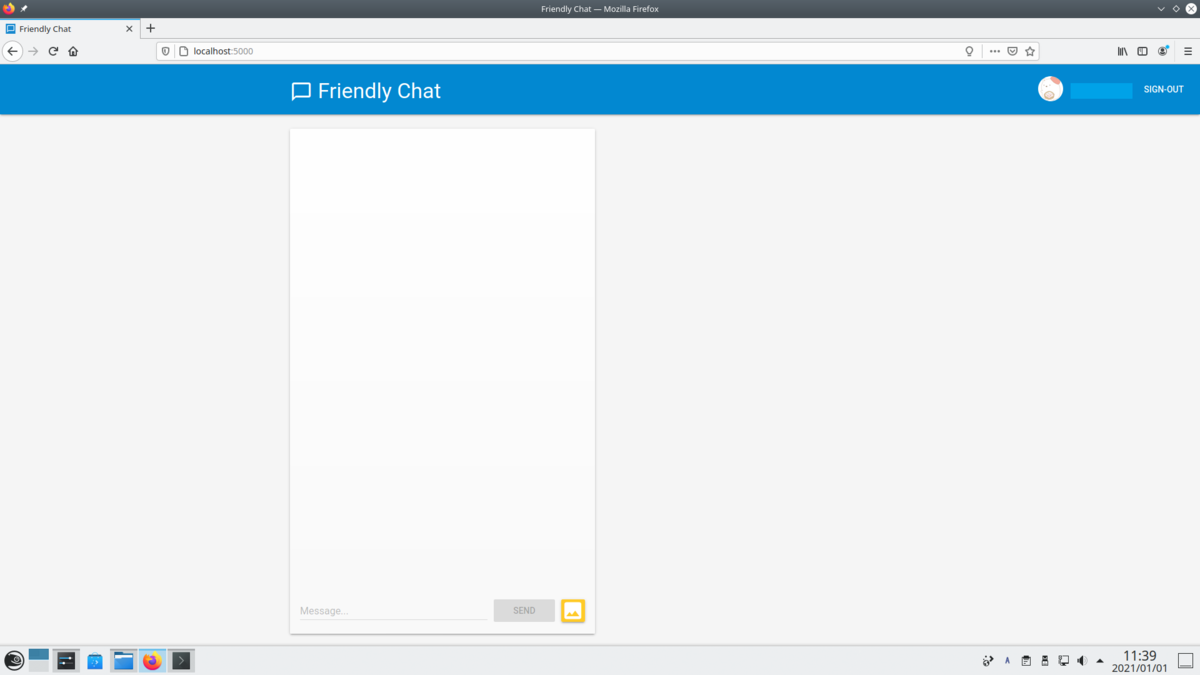
メッセージの書き込み設定
アプリケーションの UI にデータ入力ができるように Cloud Firestoreにデータを書き込みます。ユーザーが作成したメッセージは、Cloud Firestore に保存されます。
チュートリアルでは、ユーザーが「Send」ボタンをクリックすると、データベースに保存するコードが用意されているので、対象の関数を置き換えます。ファイルは web-start/public/scripts/main.jsです。
関数:saveMessage
// Saves a new message to your Cloud Firestore database.function saveMessage(messageText) {// Add a new message entry to the database.return firebase.firestore().collection('messages').add({
    name: getUserName(),
    text: messageText,
    profilePicUrl: getProfilePicUrl(),
    timestamp: firebase.firestore.FieldValue.serverTimestamp()
  }).catch(function(error) {
    console.error('Error writing new message to database', error);
  });
}
ブラウザから http://localhost:5000に接続し「hello」などのメッセージを入力して「Send」ボタンをクリックすると、Firebase コンソールでメッセージを確認できます。
メッセージの読み取り設定
アプリケーションでメッセージを読み取り、表示させます。
データベース内のメッセージが更新された際に、新しいメッセージをアプリケーションに表示させるように対象の関数を置き換えます。ファイルは web-start/public/scripts/main.jsです。
関数:loadMessages
// Loads chat messages history and listens for upcoming ones.function loadMessages() {// Create the query to load the last 12 messages and listen for new ones.var query = firebase.firestore()
                  .collection('messages')
                  .orderBy('timestamp', 'desc')
                  .limit(12);

  // Start listening to the query.
  query.onSnapshot(function(snapshot) {
    snapshot.docChanges().forEach(function(change) {if (change.type === 'removed') {
        deleteMessage(change.doc.id);
      }else{var message = change.doc.data();
        displayMessage(change.doc.id, message.timestamp, message.name,
                       message.text, message.profilePicUrl, message.imageUrl);
      }});
  });
}
画像送信設定
画像を共有する機能を追加します。
Cloud Firestore は、構造化データの保存に適していますが、Cloud Storage はファイルの保存に適しています。
ユーザーがアプリケーションを使用して共有する画像を Cloud Storage に保存するように対象の関数を置き換えます。ファイルは web-start/public/scripts/main.jsです。
関数:saveImageMessage
// Saves a new message containing an image in Firebase.// This first saves the image in Firebase storage.function saveImageMessage(file) {// 1 - We add a message with a loading icon that will get updated with the shared image.
  firebase.firestore().collection('messages').add({
    name: getUserName(),
    imageUrl: LOADING_IMAGE_URL,
    profilePicUrl: getProfilePicUrl(),
    timestamp: firebase.firestore.FieldValue.serverTimestamp()
  }).then(function(messageRef) {// 2 - Upload the image to Cloud Storage.var filePath = firebase.auth().currentUser.uid + '/' + messageRef.id + '/' + file.name;
    return firebase.storage().ref(filePath).put(file).then(function(fileSnapshot) {// 3 - Generate a public URL for the file.return fileSnapshot.ref.getDownloadURL().then((url) => {// 4 - Update the chat message placeholder with the image's URL.return messageRef.update({
          imageUrl: url,
          storageUri: fileSnapshot.metadata.fullPath
        });
      });
    });
  }).catch(function(error) {
    console.error('There was an error uploading a file to Cloud Storage:', error);
  });
}
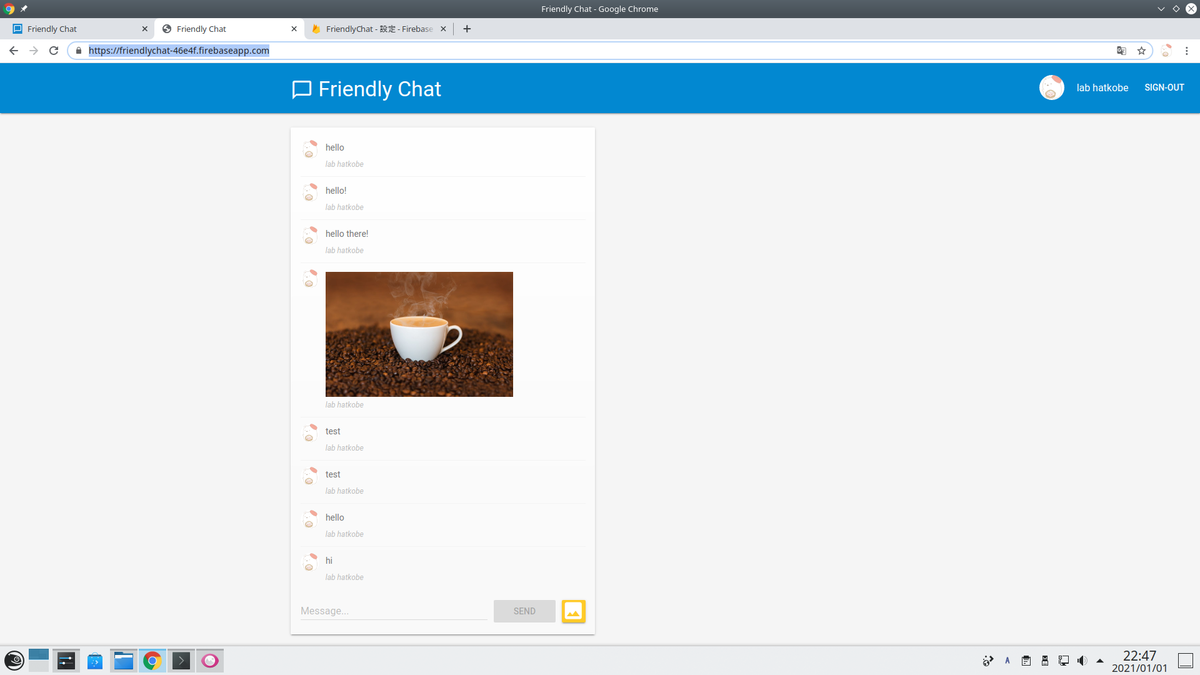
ブラウザから http://localhost:5000に接続し「hello」などのメッセージを入力して「Send」ボタンをクリックすると、アプリケーションに表示されます。また、画像をアプリケーションにアップロードすることもできます。
パフォーマンスデータ収集
Performance Monitoring SDK を使用して、アプリケーションからパフォーマンスデータを収集し、Firebase コンソールでデータの確認および分析ができます。
自動トレースの設定
アプリケーション利用時に自動的にパフォーマンスデータ監視を行うためには、main.jsに以下を追加します。
// TODO: Initialize Firebase Performance Monitoring.
firebase.performance();
パフォーマンスデータの表示
Firebase コンソールからパフォーマンスデータを確認できます。通常は、この後の手順で実施するデプロイ後、12時間以内に表示されます。
アプリケーションのデプロイ
Firebase Hostingを使用してアプリケーションを Firebase プロジェクトにデプロイします。
コマンドは以下を使用します。
> cd /home/hatkobelab/codelab-friendlychat-web/web-start/
> firebase deploy --except functions
デプロイ後、Firebase Hosting の URL(以下の2つの Firebase 独自サブドメイン)から、ウェブアプリケーションにアクセスできるようになります。
https://<firebase-projectId>.firebaseapp.com
https://<firebase-projectId>.web.app
通知設定
Firebase Cloud Messagingを使用して、ウェブアプリに通知を配信することができます。
送信者 ID 許可
アプリケーション側で、通知を許可する送信 ID を設定する必要があります。 web-start/public/manifest.jsonの gcm_sender_idで設定します。※固定値で変更できません。
{"name": "Friendly Chat",
  "short_name": "Friendly Chat",
  "start_url": "/index.html",
  "display": "standalone",
  "orientation": "portrait",
  "gcm_sender_id": "103953800507"
}
Service Worker の追加
通知をアプリケーションに表示させるために必要な Service Worker を追加します。 web-start/publicディレクトリに irebase-messaging-sw.jsという名前のファイルを作成して、以下のコンテンツを追加します。*2
// Import and configure the Firebase SDK// These scripts are made available when the app is served or deployed on Firebase Hosting// If you do not want to serve/host your project using Firebase Hosting see https://firebase.google.com/docs/web/setup
importScripts('/__/firebase/8.2.1/firebase-app.js');
importScripts('/__/firebase/8.2.1/firebase-messaging.js');
importScripts('/__/firebase/init.js');

firebase.messaging();
デバイストークンの取得
デバイスまたはブラウザで通知が有効になると、デバイストークンが提供されます。
ユーザーがサインインすると、ブラウザからデバイストークンを取得し、Cloud Firestore に保存するように設定します。ファイルは web-start/public/scripts/main.js です。
// Saves the messaging device token to the datastore.function saveMessagingDeviceToken() {
  firebase.messaging().getToken().then(function(currentToken) {if (currentToken) {
      console.log('Got FCM device token:', currentToken);
      // Saving the Device Token to the datastore.
      firebase.firestore().collection('fcmTokens').doc(currentToken)
          .set({uid: firebase.auth().currentUser.uid});
    }else{// Need to request permissions to show notifications.
      requestNotificationsPermissions();
    }}).catch(function(error){
    console.error('Unable to get messaging token.', error);
  });
}
通知権限のリクエスト
ユーザーに通知許可を求めるダイアログをブラウザに表示させます。ユーザーで許可していない場合、デバイストークンは提供されません。
// Requests permission to show notifications.function requestNotificationsPermissions() {
  console.log('Requesting notifications permission...');
  firebase.messaging().requestPermission().then(function() {// Notification permission granted.
    saveMessagingDeviceToken();
  }).catch(function(error) {
    console.error('Unable to get permission to notify.', error);
  });
}
サインイン後、通知許可ダイアログが表示されます。
「許可」をクリックすると、ブラウザの JavaScript コンソールに次のメッセージが表示されます。
Got FCM device token: cWL6w:APA91bHP...4jDPL_A-wPP06GJp1OuekTaTZI5K2Tu
ブラウザに通知を送信
デバイストークンと、サーバーキーを設定し、次の cURL コマンドを実行します。
サーバーキーは、Firebase コンソール から「プロジェクトの概要」 ->「プロジェクトを設定」 ->「Cloud Messaging」 で確認できます。
curl -H"Content-Type: application/json" \
     -H"Authorization: key=YOUR_SERVER_KEY" \
     -d'{"notification": {"title": "New chat message!",
             "body": "There is a new message in FriendlyChat",
             "icon": "/images/profile_placeholder.png",
             "click_action": "http://localhost:5000"
           },
           "to": "YOUR_DEVICE_TOKEN"
         }' \
     https://fcm.googleapis.com/fcm/send
アプリケーションがバックグラウンドにある場合、次のようにブラウザに通知が表示されます。
以上